We had two areas of flooring that didn't have hardwood on them because they were under the peninsula before, but that now needed wood flooring. It was the area on the front side of the island and the area between the new bank of wall cabinets and the island. Fortunately, we had enough wood that we'd pulled up from under the island and new cabinets that we were able to repurpose all of it without trying to match or have anything replicated (i.e. major cost savings!).
First we realized we needed to get all the old dry glue off the bottom so it would sit right. Chris used a wire brush for this and it seriously flung a million pieces of dry, black glue all over our garage. He's in trouble for not wearing safety glasses with all these projectiles flying around.


Chris did the area on the front of the island on his own, he's almost
done with it in the picture below. It looks really good, you can't even
tell it's different because he did such a great job of lining up the
seams and making everything look uniform.

Then his dad came into town
one rainy Saturday and they tackled the larger area between the island
and the cabinets. It's like a puzzle, just finding the best way to fit all the pieces into the gaps, and then cutting down those that needed to be shortened, etc. We labeled them so we didn't forget the order.

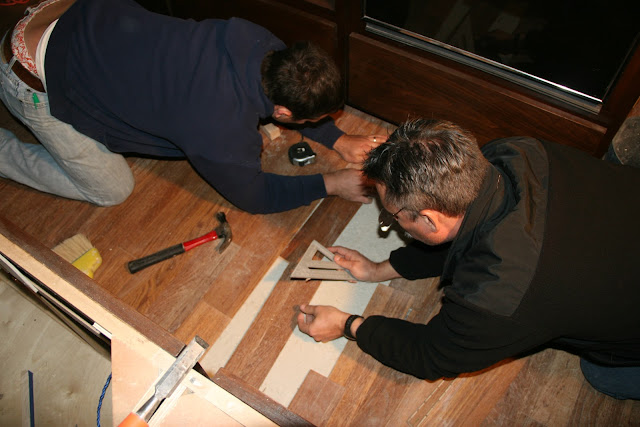


 Checking the level-ness and using a straight-edge hoe to scrape down some of the bumps and unevenness.


Time for the liquid nails. We went through about 7 tubes.


Placing the pieces down, fitting the tongue into the groove, then hammering into place.


 Now for the crazy part. Once you get to the last piece in the middle, you can't really get the tongue of one side into the groove of the other, and vice versa on the other side since there's no wiggle room. So we were planning to just cut the tongue off so once side would be attached with the tongue and groove, but the other wouldn't. And it would just be glued down. But Chris' dad had the idea to sort of prop the surrounding pieces up without gluing them down first, then squeeze the final panel into place, then fill in with liquid nails and press down. It was a little complicated and I don't actually have a picture of this, because all hands were on deck. But we did it! Pretty cool.


Putting the cover back on the breaker box. We're through with major electrical work... for now.


