I'm in LOVE with these pendants above our island. I got the idea for old-timey-ish-looking pulley lights from Jen, Scout's sister-in-law. She has a really neat kitchen fixture the previous owner got from this place in Austin (archhero.com - they have great stuff!) I kept wanting to try to go by to check them out, but never got a chance, then found these puppies on potterybarn.com and we still have some giftcards from our wedding, so after that I think they only cost like 50 bucks! The counterweight and pulley system allows you to change the heights if you want, so functional and old school with a modern edge.

Then on to the recessed lighting. We knew we wanted LED can lights, but not in the super bright white shade, and we weren't sure how many we'd need in the space. So we went to Lighting Inc., a lighting specialty store, to view some options and get pricing.... RIDICULOUS! I think the bid was like $1800 or something crazy like that. But we decided we needed (8) 4" LEDs on the perimeter. We ended up getting the housings from Home Depot and ordered the LED bulbs themselves online at Polar-Ray.com (around $50 a pop but I believe they last 25 years or something crazy.)
| housing example |
| 4" Sylvania LED downlight |
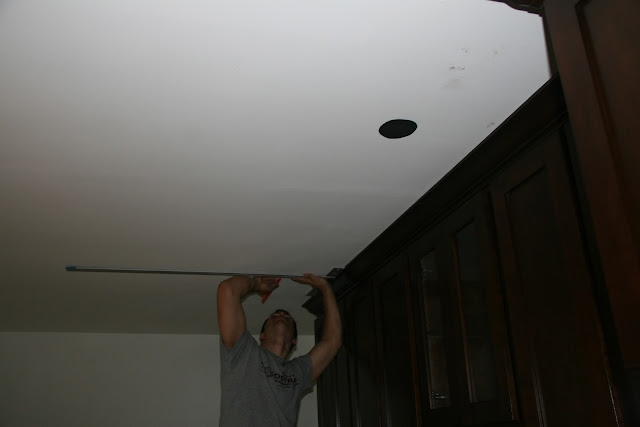
For being such little guys, this process takes an unbelievable amount of time. We did about 2 lights a day I think. First we finalized all our placements using circles I'd cut out of construction paper. Then measure, measure, measure, to make sure everything is straight/even. Then you drill a little hole and stick something up through it (a replacement string from our weed wacker in our case). Stick it through and hold it while Chris goes in the attic, then knock on the ceiling and wiggle it around so he can find the spot to make sure it will work. Sometimes it doesn't and we have to shift, or cut a gap in the 2x4,etc. Then we use a hole cutter attachment on the drill to cut the hole. (Initially I gasped when he told me it cost something like $60 bucks, thinking that was ridiculous. I still think it is ridiculous, but it was definitely worth it in the end. Makes such a nice, clean hole.)
After the hole is cut he's back in the attic trying to mount the housing between the 2x4s. I'm not really clear on what takes so long, but he's seriously up there forever moving things all around and then doing all the wiring. I just shout up to him every once when he gets quiet to make sure he hasn't electrocuted himself. Then I help adjust the housing from inside so it fits nicely in the hole, then pop the bulb into place. And wa-la... 2 hours later you have a light!

Oh wait, did you prefer our industrial style pendant and lovely fluorescent light?

And here's a little sneak peak at our super awesome under-cabinet LED rope lights that we can't wait to install!


No comments:
Post a Comment